
Hello Friends! I hope you’re all doing well. Have you heard of WordPress? I’m sure many of you have. It’s a convenient content management system with a huge following. Over the past several years, it has become increasingly popular. It’s easy to use and has a mass of options for your web design project or blog.
WordPress is easy to install. With just a handful of steps you’ll have WordPress installed and ready to go. If you host with HostandStore.com, it’s as simple as clicking a button.
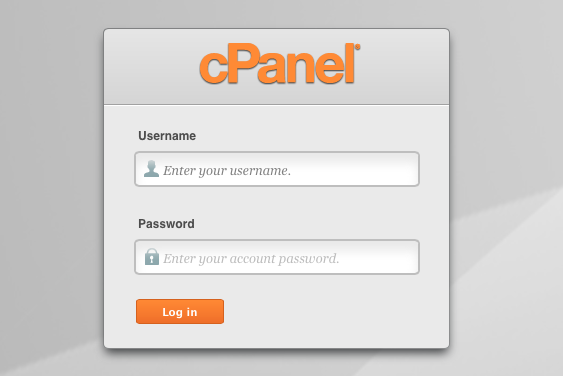
1. Navigate to your cPanel by going to www.yourdomain.com:2083 and login.
2. Once you’re logged in, you’ll see a screen like this:
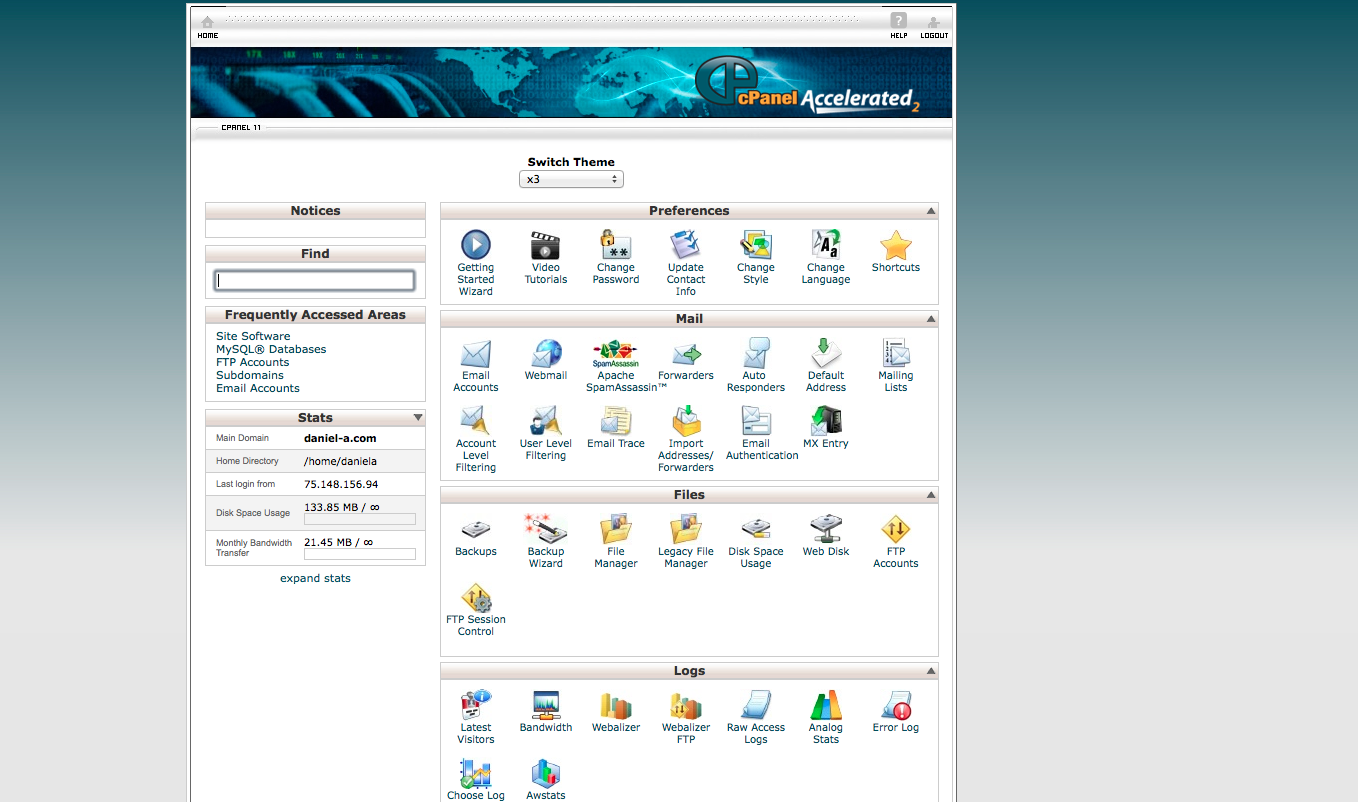
You’ll need to scroll down to “Software/Services” and click on “Site Software.”

3. After you’ve clicked “Site Software” you’ll see a page like this:
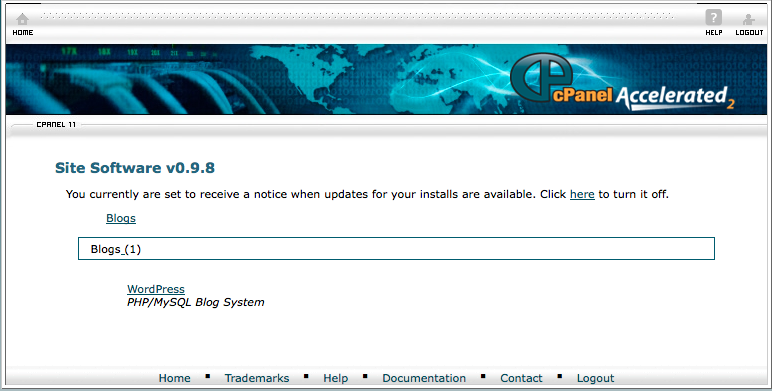
There is only 1 option to click and it happens to be WordPress. Click that and we’ll move on to the next step.
4. You’ll see a screen like this:
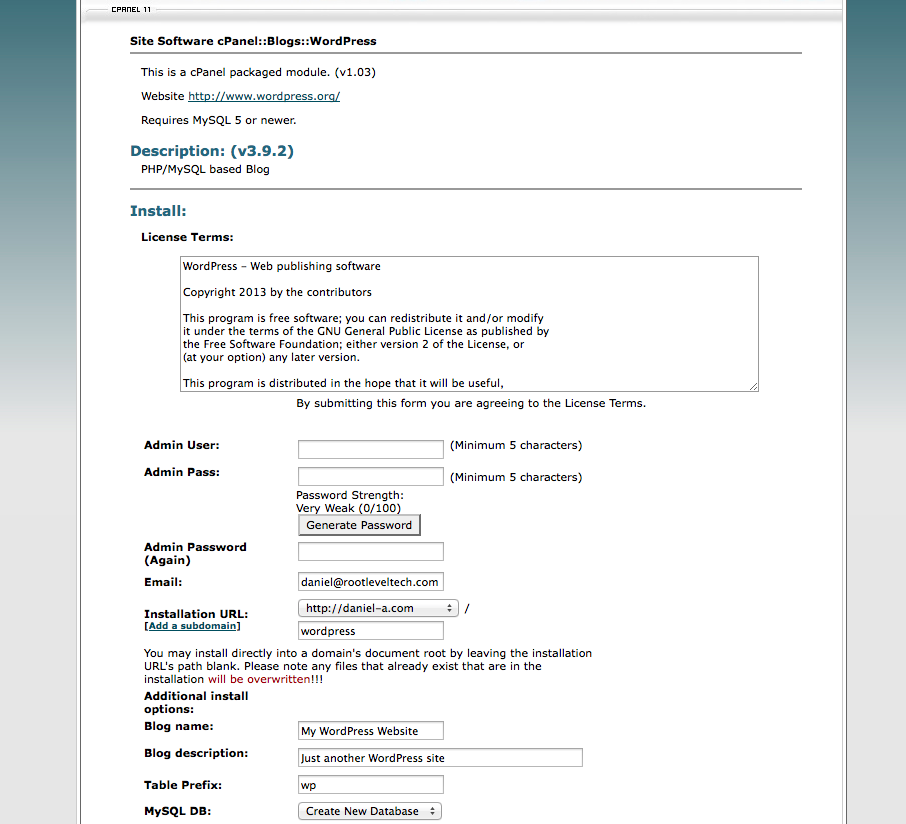
There is quite a bit going on here, but don’t be afraid, just go step by step. The admin user name and password are important. This will be your login into your WordPress installation. Make it secure and don’t forget it. Set the email address so that you can be notified of administrative changes in the event that someone else is also an administrator.
The installation url is also important. If you will be creating your entire site in WordPress, you’ll want to remove the “WordPress” after the /. So it would read “https://yourdomain.com/”.
If you’re just going to be using WordPress as a blog on your existing site, I would suggest installing it on “https://yourdomain.com/blog” but to be honest it can be installed in whatever directory makes sense to you.
Under the “Additional install options:” you can give your blog a name and description. If you’re not sure on this, you can just leave it as default and change it later. The “Table Prefix” can stay on the default setting, and if you haven’t created a database yet then leave it as “Create New Database.”
Once all of this is filled out, click the “Install” button at the bottom.
5. WordPress will begin installation and, after a minute, you’ll get a confirmation screen that tells you the url of your new WordPress install. From here, you can click the link and see your default WordPress page. To login to the administrative section, you would go to “www.yourdomain.com/wp-admin” if you are doing the whole site in WordPress, or “www.yourdomain.com/blog/wp-admin” (if you’ve chosen to replace the “blog” part with a different directory type it here instead of blog) if you’ve just installed it as a blog. Use your admin user name and password you created during the install and log in.
You’ve just installed WordPress and you’re in! Get to customizing! If you have questions feel free to contact us via the LiveChat feature on our website or by emailing us at support@hostandstore.com.